Since I use Linode (Akamai) cloud for some of my jobs and applications, I needed Longview to monitor the server and its performance.
Let me start by saying that I’m not a big fan of Alma Linux, but due to some circumstances, I had to use it.
Unfortunately, Alma Linux does not support the installation of Longview on a Linode server, and when you try to do so, you’ll get an error.
Before installing Longview, I need to draw your attention to the most important thing. If you have already tried to install Longview and failed, most likely, you tried it from this link. You need to delete the cache and directory you created during the installation.
This is where you can find direcotry /etc/yum.repos.d/longview.repo
Otherwise, the new installation will not succeed.
So you must delete it and then create a new Longview and follow the steps shown below.
Do this with this command
sudo rm -r /var/cache/dnfHere’s how to install Longview on your Alma Linux
The first step is to build your Longview on Linode.
You will do that by clicking the Add Client button as in the picture..

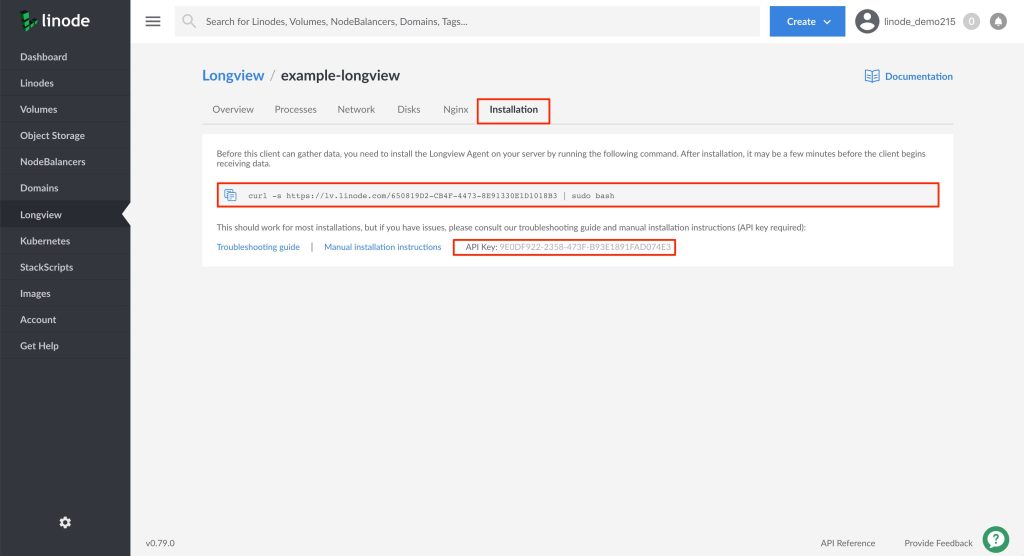
Then a Longview will be created for you as in the image below.

The third step is to log into your server as root.
ssh root@123.456.789The fourth step is to start the installation
To proceed, you’ll need to create a file in your preferred editor (such as nano or vim).
Keep an eye on the baseurl link and make sure it says “centos” as it should, and replace the “REV” with the number 8 to indicate the version of CentOS.
Alternatively, you could use 7, but I went with 8 since it’s the closest version to Alma Linux that I’m using.
Create file and copy contents from below.
File: /etc/yum.repos.d/longview.repo
[longview]
name=Longview Repo
baseurl=https://yum-longview.linode.com/centos/REV/noarch/
enabled=1
gpgcheck=1
Save this file
The fifth step
Download the repository’s GPG key and import or move it to the correct location:
sudo curl -O https://yum-longview.linode.com/linode.key
sudo rpm --import linode.key
Sixth step
Copy the API key from the Installation tab of your Longview client’s detailed view in the Linode Cloud Manager.
Put the key into a file, replacing the key in the command below with your own.

This is where you enter your API key between quotes
echo '266096EE-CDBA-0EBB-23D067749E27B9ED' | sudo tee /etc/linode/longview.keyThe seventh and most important step is to execute this command and instead of this link, type yours below.
As I said previously in the fourth step to enter the version of Centos, here also make sure that the version of Centos matches the version you entered in the fourth step.
So here is version 8, as in the third step.
curl -s https://lv.linode.com/830BA357-C03C-4187-A23B7DAF3F58B861 | sed 's/\$DIST/centos/' | sed 's/\$REV/8/' | sudo bashNow wait for the command to execute
Finally execute this command as well.
sudo systemctl status longview
Then back to Linode and you will see it installed Longview with a performance.


Hi,
TKS! did helped~ The Sixth step could be skip if u are the first time installer.